One of the first lessons landscape photographers need to learn is how to choose the right lens for the job. Every lens focal length has its own time to shine, and it’s not just about how much of the scene it captures. The best focal length is the one that best isolates the subject, or hero, in your image, and keeps out the distractions, or villains.
As a general rule, choose a long focal length lens, like 70, 135, or 200mm to isolate textures and distant features to create dramatic backgrounds. Wide focal length lenses, like 16, 24, or 35mm thrive when you want the entire scene in focus, like when shooting simple landscapes with long leading lines.
Before we dive into the focal lengths, let’s define what the hero of your image is. The hero is the one piece of the image that makes people stop in their tracks and stare at the image. When an image with a prominent hero appears on Instagram, people will stop scrolling, zoom in, and leave a comment. It’s the type of image that makes you want to get outside and start taking photos.
Villains are the opposite. These are pieces of the image that are fighting with the hero for the viewer’s attention. If there are too many villains, the viewer won’t be able to latch on to any one part of the image. And in our fast-paced world, they’ll continue walking or scrolling without even so much as a double tap.
So now that we’ve gotten that out of the way, let’s get into the thought process behind choosing the right focal length.
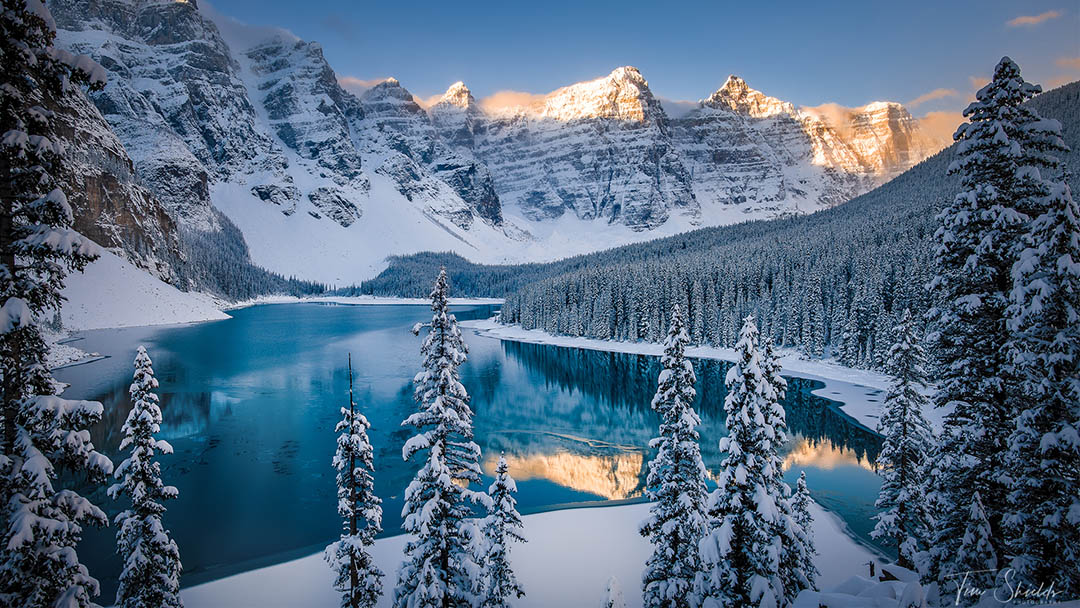
There are a couple of factors that you need to consider when choosing the right focal length for a landscape photograph. For me, the biggest factor that I take into consideration is the background.
Long focal length lenses make backgrounds appear larger, while wide-angle lenses make backgrounds appear smaller. Longer focal lengths also have a further distance until they reach infinity focus. Lenses longer than 70mm focus on infinity after 100 feet. This infinity focusing distance means a couple of different things.
Landscape photographers often love getting close to the ground. But when using a long focal length lens, everything that’s close to the camera will be out of focus. If you need the foreground elements to be in focus, you will have to focus stack your images or switch to a wide-angle lens. We’ll get into focus stacking in more detail below.
A wide-angle lens, like 24mm, can capture everything further than 15 feet in focus. This means if the camera is on a tripod at a normal height, it’s still likely to get the entire foreground and background in focus.
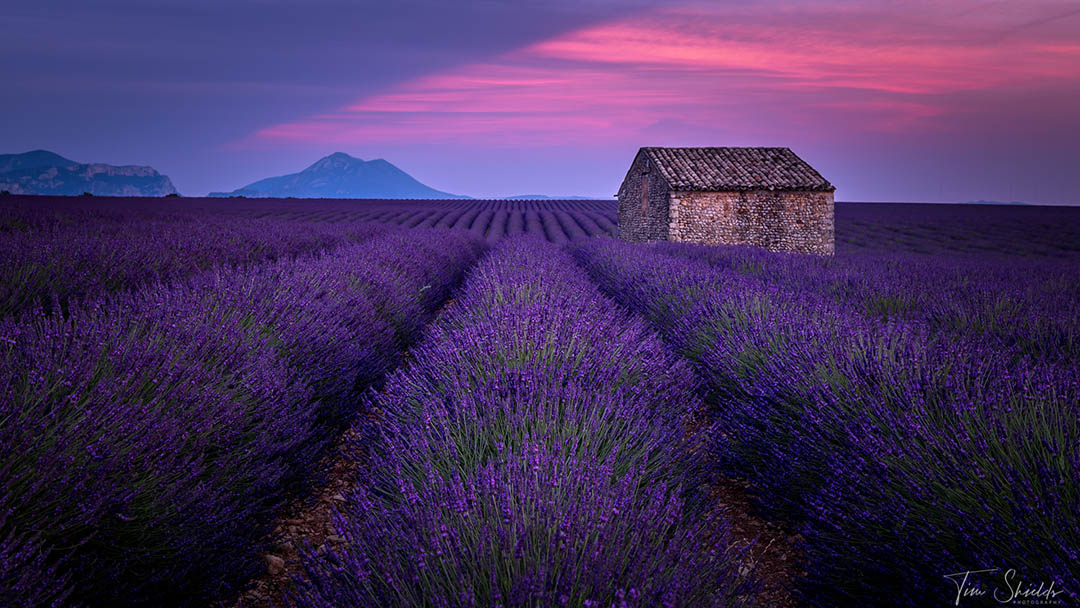
Telephoto lenses shine when you want to isolate your subject. Something like a single tree that’s well lit in a forest, or a church on a hill with mountains behind it. These types of scenes thrive will longer focal lengths that can make the subject the point of focus in the image.
When I’m out taking photographs, I often get low to the ground. This way, I can use the foreground as a leading line to take the viewer straight into the background of my scene. Looking at the image above of the lavender fields in France, this image wouldn’t have worked without a long focal length while being low to the ground. I was able to make the building and the mountains in the background larger in the frame.
In this scene, the house is the subject. And the spaces between the lavender flowers lead the eyes straight to the house, and then onto the mountains and sky in the background. But using that lens meant that I had to focus stack the images, as those flowers in the foreground were out of focus.
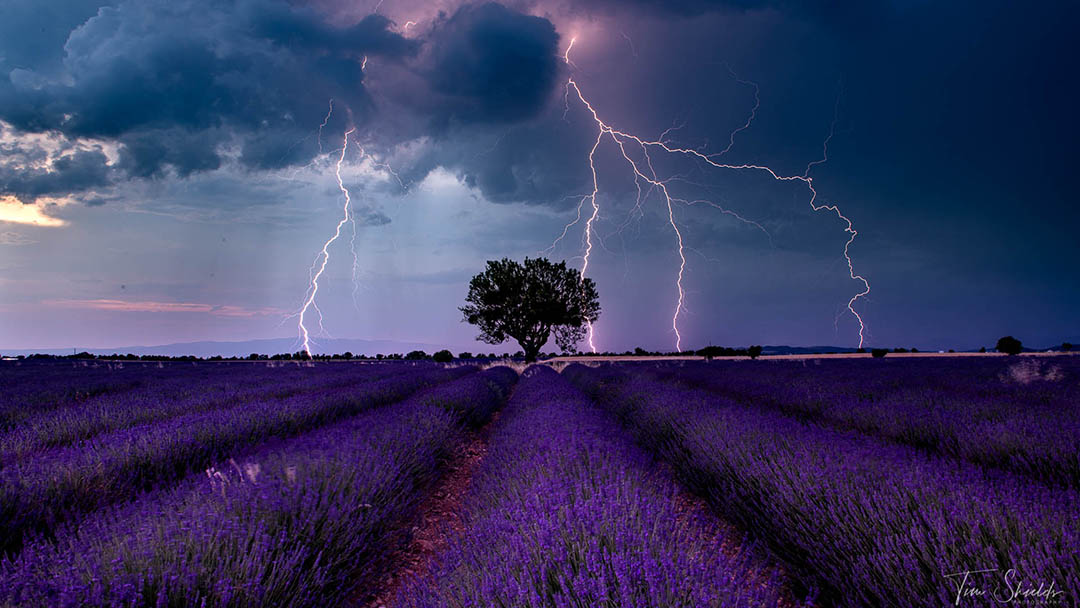
Focus stacking is a simple task, and some cameras even have features that’ll do this automatically. It requires focusing on multiple points in the image and then combining the focused parts of the image in photoshop. Typically, I use a focus puller like this one on Amazon. While using manual focus, I take a photo with the first foreground element in focus and then take additional images while slowly pulling the focus towards the background. Depending on how close I am to the closest foreground element, I can end up taking between 10 and 30 images.
Then when the photos are opened as layers in Photoshop, go to the Edit menu and choose the Auto-Blend Layers option. A new dialogue box will show up. Simply click ‘Stack Images’ and uncheck the ‘Content-Aware Fill Transparent Areas’ option. And Photoshop will automatically stack the images for you! If you took the photos on a tripod, everything should be in focus. The only times you might run into some issues is if it was a particularly windy day outside.
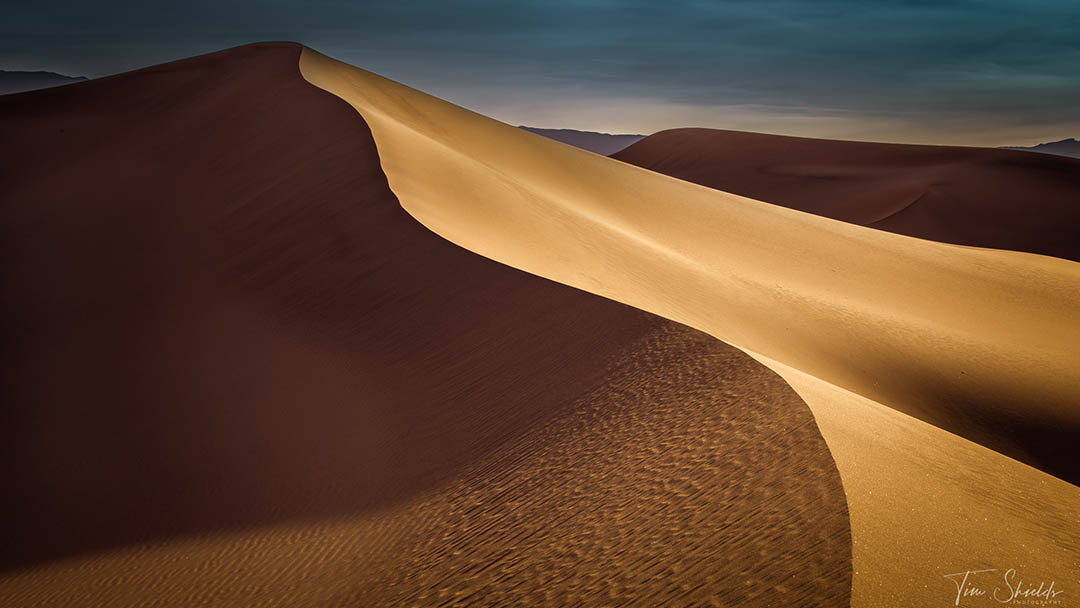
The biggest reason I always carry a telephoto lens like my 70-200 F/4 is to isolate features and textures. One of the best examples of this is in desert photography, where you need a telephoto lens to make the desert features stand out.
Deserts are filled with textured sand dunes, but wide-angle lenses just don’t capture the rich details as beautifully as telephoto lenses do. The image above was taken in Death Valley, USA. It’s one of those locations where a wide-angle lens will make the background look smaller than it actually is. But telephoto lenses accentuate the background and make the leading line along the ridge of the desert powerful.
If you want to learn more about desert photography, take a look at this article I wrote specifically on the subject.
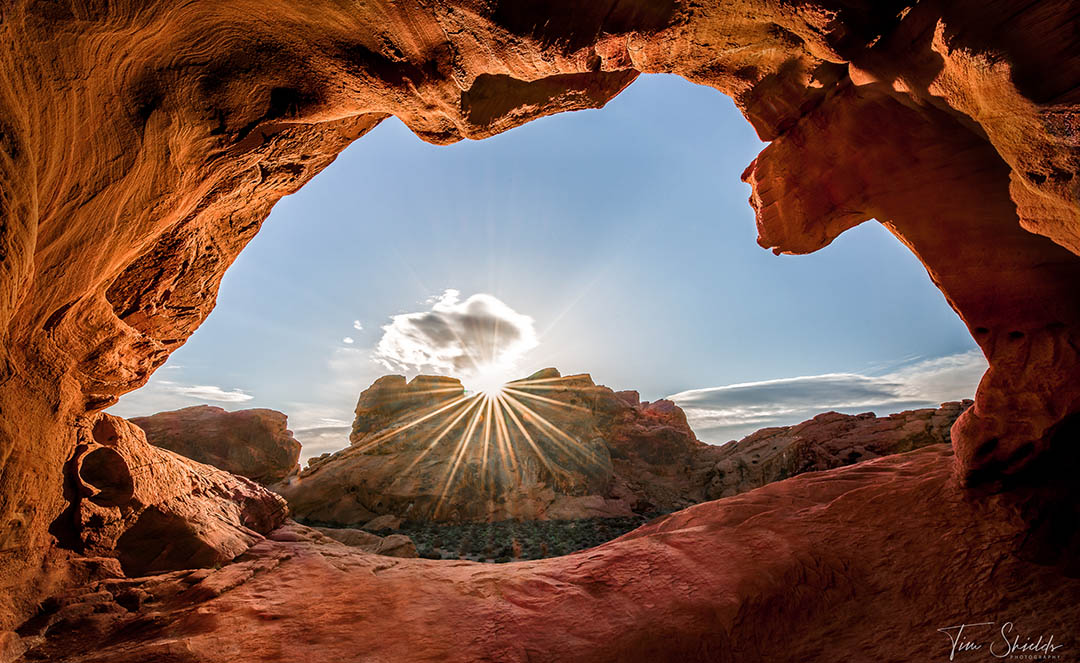
Wide-angle lenses are also extremely important to landscape photography. When you have a sweeping vista, like a grassy, hilly plain, there’s nothing like a wide-angle image that captures just about everything.
Wide angles thrive in long, uncrowded landscapes, and when you need to accentuate the features of close-up objects like rock faces. Wide-angle lenses do create a certain amount of distortion. Close objects look much larger than small ones, especially when looking up. That’s why they’re used for nearly every shoe advertisement out there — get up close to the shoe, and it looks incredible in the frame, while still showing more of the scene for context.
The above image from the mouth of a cave is another typical landscape photograph that couldn’t happen without a wide-angle field of view. The mouth of that cave is actually quite small, although the lens makes it look gigantic. And there isn’t room to move much further back to use a telephoto lens. So a wide-angle was necessary to use the mouth of the cave as a vignette to frame the desert rocks in the foreground.
Wide-angle focal lengths are also essential for capturing reflections in lakes and ponds. No other type of lens has the field of view necessary to capture rich detail in a small body of water. And you have to get up close, which can make smaller puddles like gigantic.
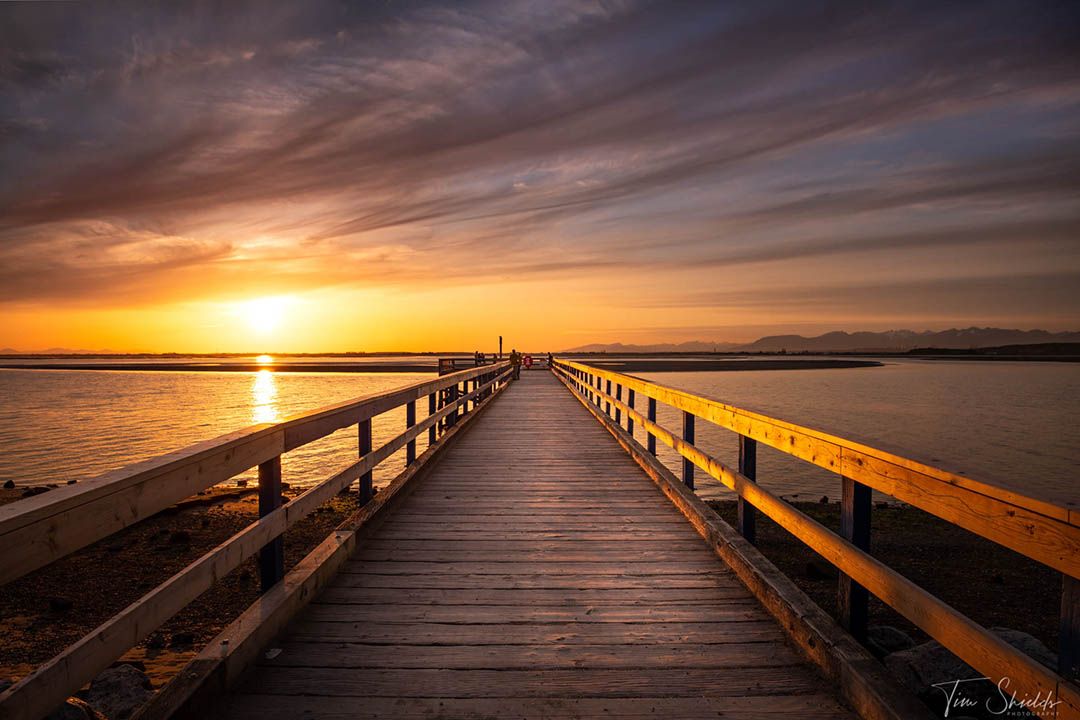
The next place where wide-angle lenses really stand out is when you want to frame leading and converging lines. Converging lines are any two lines that come together into the middle of your photograph, like the shot off the pier at the top of this section.
Leading lines is just a phrase people use to describe a line that takes the viewer’s attention around the image. This can be like the ridgeline in the desert image above, or it can be rivers, or outlines of hilly plains at sunset.
When you’re using a wide-angle lens to capture a vista, you’ll need to have some kind of leading line to make the image stand out. Without some kind of leading line or contrast, the viewer won’t have any one feature to focus their attention, and they’ll simply scroll past.
Because of this reason, wide-angle lenses are actually very difficult to use well. I find a lot of new photographers pick up a wide-angle and think that’s the secret to landscape photography. And while these lenses do open up a multitude of photographs, they’re actually more specific in their use than telephotos. When you’re using a wide-angle, make sure to limit any distractions in the scene. This is really hard to do in person when you’re first starting out. So if you get to Lightroom and find that there are a few distractions, you can always use dodge to highlight the heroes and burn to get rid of the villains.
There you have it! Choosing the right lens isn’t an easy task from the beginning. Like everything, it always takes some amount of practice to get the photographs just right. But if you want to take your photography to the next level the easy way, I’ve designed my Photography Transformation Masterclass to do just that, but without any of the jargon or technobabble. In this program, you’ll learn my four-step photographic system that can be used with any camera to create stunning, wall-worthy visuals. And the best part about it is that you can use this system with any camera! Sign up for my free online web class today to learn more!